Google Maps Not Rendering Using Django Easy Maps
Building interactive maps into a Django web application can seem daunting if you do not know where to begin, but it is easier than you think if you use a developer tool such as Mapbox.
In this post we will build a simple Django project with a single app and add an interactive map like the one you see below to the webpage that Django renders with the Mapbox Maps API.
Our Tools
Python 3 is strongly recommended for this tutorial because Python 2 will no longer be supported starting January 1, 2020. Python 3.6.5 to was used to build this tutorial. We will also use the following application dependencies to build our application:
- Django web framework, version 2.0.5
- pip and virtualenv, which come installed with Python 3, to install and isolate the Django library from your other applications
- A free Mapbox account to interact with their web API using JavaScript
If you need help getting your development environment configured before running this code, take a look at this guide for setting up Python 3 and Django on Ubuntu 16.04 LTS.
This blog post's code is also available on GitHub within the maps-django-mapbox directory of the blog-code-examples repository. Take the code and use it for your own purposes because it is all provided under the MIT open source license.
Installing Dependencies
Start the Django project by creating a new virtual environment using the following command. I recommend using a separate directory such as ~/venvs/ (the tilde is a shortcut for your user's home directory) so that you always know where all your virtualenvs are located.
python3 -m venv djangomaps Activate the virtualenv with the activate shell script:
source djangomaps/bin/activate The command prompt will change after activating the virtualenv:

Remember that you have to activate your virtualenv in every new terminal window where you want to use dependencies in the virtualenv.
We can now install the Django package into the activated but otherwise empty virtualenv.
pip install django==2.0.5 Look for the following output to confirm Django installed correctly from PyPI.
Downloading https://files.pythonhosted.org/packages/23/91/2245462e57798e9251de87c88b2b8f996d10ddcb68206a8a020561ef7bd3/Django-2.0.5-py3-none-any.whl (7.1MB) 100% |████████████████████████████████| 7.1MB 231kB/s Collecting pytz (from django==2.0.5) Using cached https://files.pythonhosted.org/packages/dc/83/15f7833b70d3e067ca91467ca245bae0f6fe56ddc7451aa0dc5606b120f2/pytz-2018.4-py2.py3-none-any.whl Installing collected packages: pytz, django Successfully installed django-2.0.5 pytz-2018.4 The Django dependency is ready to go so now we can create our project and add some awesome maps to the application.
Building Our Django Project
We can use the Django django-admin.py tool to create the boilerplate code structure to get our project started. Change into the directory where you develop your applications. For example, I typically use /Users/matt/devel/py/. Then run the following command to start a Django project named djmaps:
django-admin.py startproject djmaps The django-admin.py command will create a directory named djmaps along with several subdirectories that you should be familiar with if you have previously worked with Django.
Change directories into the new project.
Create a new Django app within djmaps.
python manage.py startapp maps Django will generate a new folder named maps for the project. We should update the URLs so the app is accessible before we write our views.py code.
Open djmaps/djmaps/urls.py. Add the highlighted lines so that URLs will check the maps app for appropriate URL matching.
""" (comments) """ from django.conf.urls import include from django.contrib import admin from django.urls import path urlpatterns = [ path('', include('maps.urls')), path('admin/', admin.site.urls), ] Save djmaps/djmaps/urls.py and open djmaps/djmaps/settings.py. Add the maps app to settings.py by inserting the highlighted line:
# Application definition INSTALLED_APPS = [ 'django.contrib.admin', 'django.contrib.auth', 'django.contrib.contenttypes', 'django.contrib.sessions', 'django.contrib.messages', 'django.contrib.staticfiles', 'maps', ] Make sure you change the default DEBUG and SECRET_KEY values in settings.py before you deploy any code to production. Secure your app properly with the information from the Django production deployment checklist so that you do not add your project to the list of hacked applications on the web.
Save and close settings.py.
Next change into the djmaps/maps directory. Create a new file named urls.py to contain routes for the maps app.
Add these lines to the empty djmaps/maps/urls.py file.
from django.conf.urls import url from . import views urlpatterns = [ url(r'', views.default_map, name="default"), ] Save djmaps/maps/urls.py and open djmaps/maps/views.py add the following two highlighted lines. You can keep the boilerplate comment or delete it.
from django.shortcuts import render def default_map(request): return render(request, 'default.html', {}) Next, create a directory for your template files named templates under the djmaps/maps app directory.
Create a new file named default.html within djmaps/maps/templates that contains the following Django template markup.
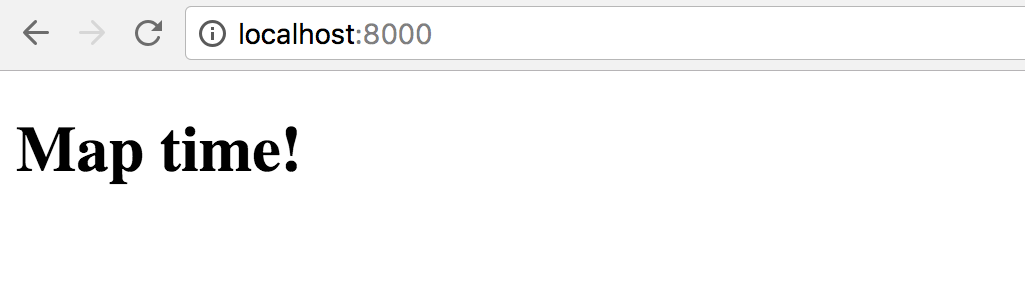
<!DOCTYPE html> <html> <head> <title>Interactive maps for Django web apps</title> </head> <body> <h1>Map time!</h1> </body> </html> We can test out this static page to make sure all of our code is correct, then we'll use Mapbox to embed a customizable map within the page. Change into the base directory of your Django project where the manage.py file is located. Execute the development server with the following command:
python manage.py runserver The Django development server will start up with no issues other than an unapplied migrations warning.
Performing system checks... System check identified no issues (0 silenced ). You have 14 unapplied migration ( s ). Your project may not work properly until you apply the migrations for app ( s ): admin, auth, contenttypes, sessions. Run 'python manage.py migrate' to apply them. May 21, 2018 - 12:47:54 Django version 2.0.5, using settings 'djmaps.settings' Starting development server at http://127.0.0.1:8000/ Quit the server with CONTROL-C. Open a web browser and go to localhost:8000.
Our code works, but boy is that a plain-looking HTML page. Let's make the magic happen by adding JavaScript to the template to generate maps.
Adding Maps with Mapbox
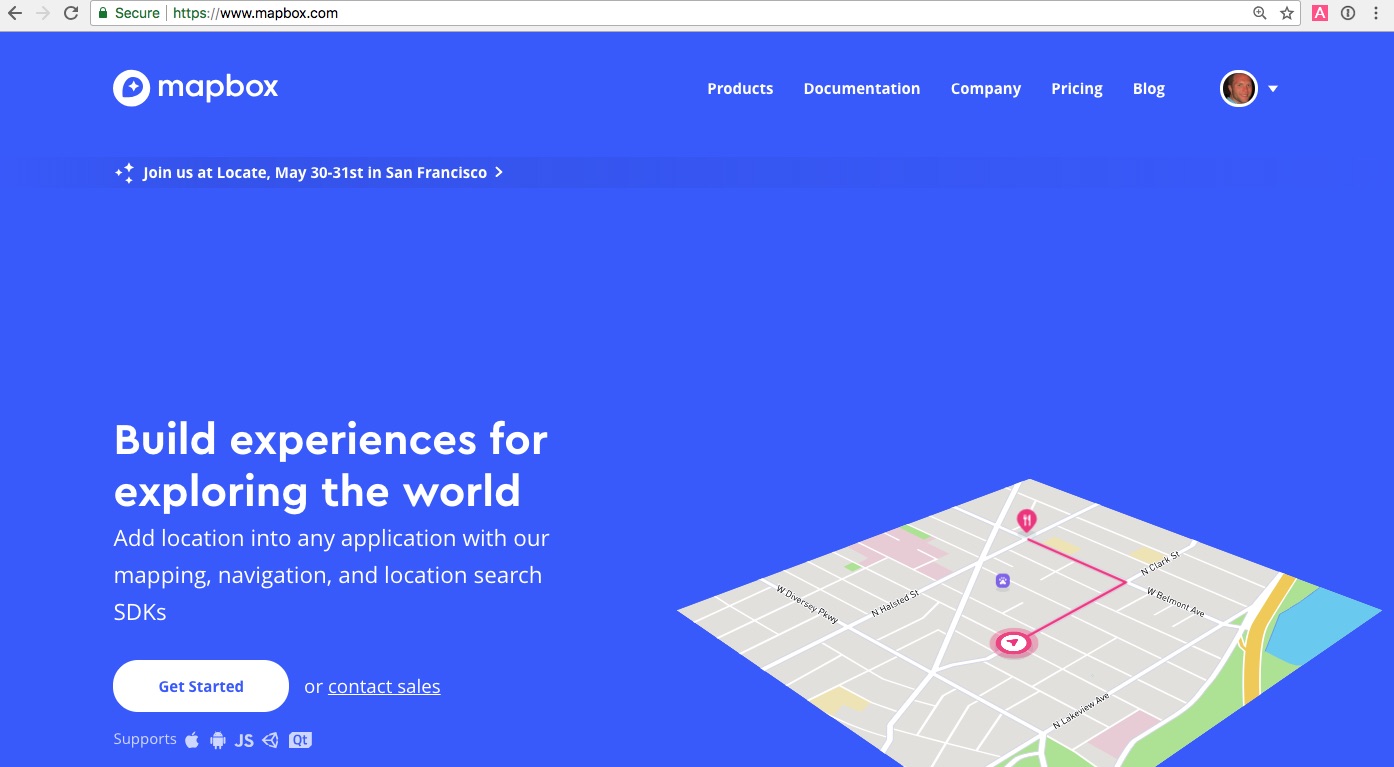
Head to mapbox.com in your web browser to access the Mapbox homepage.
Click on "Get Started" or "Get Started for free" (the text depends on whether or not you already have a Mapbox account).
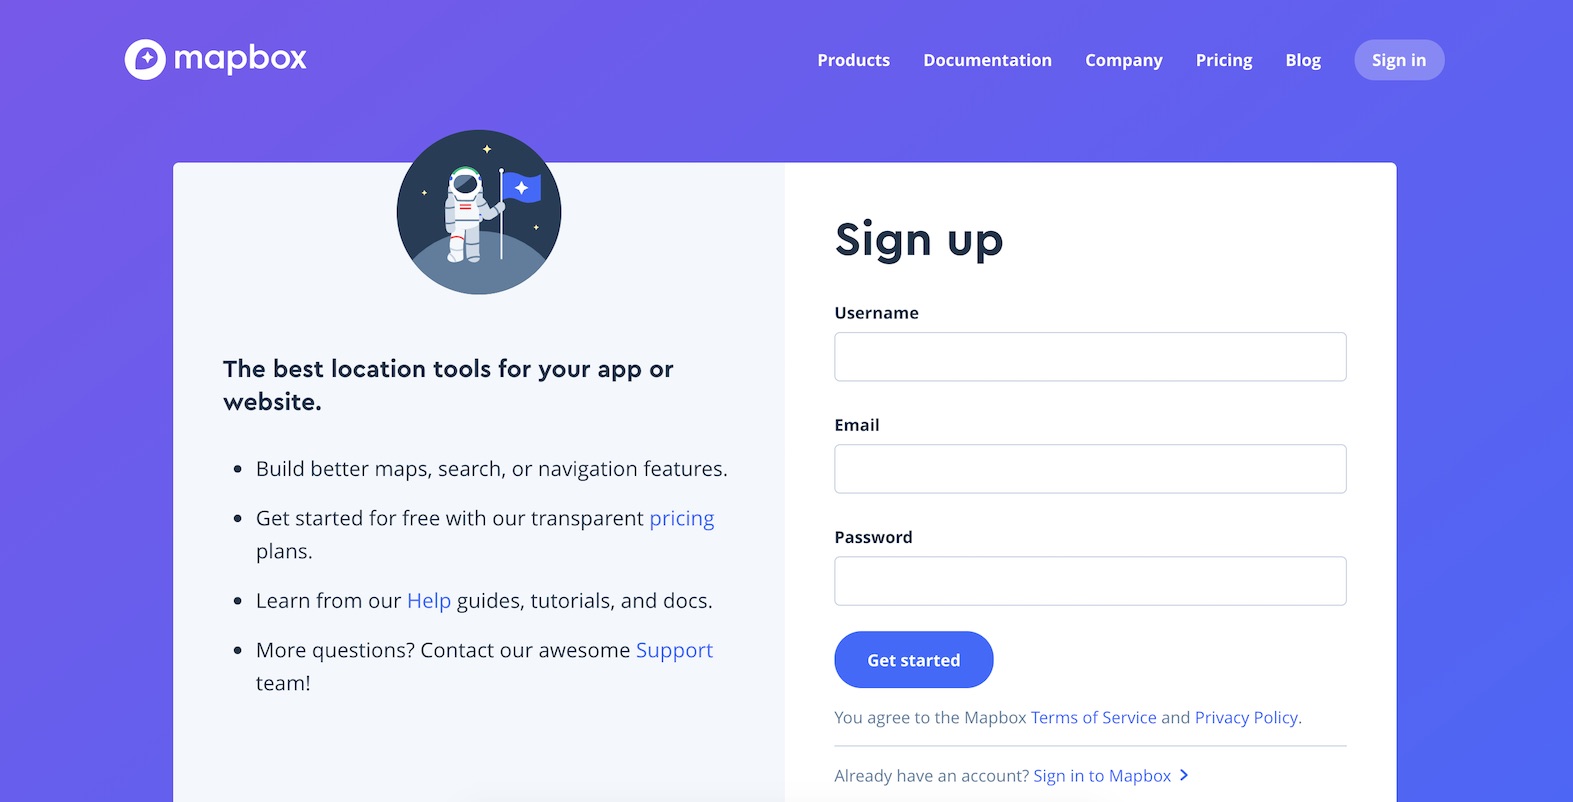
Sign up for a new free developer account or sign in to your existing account.
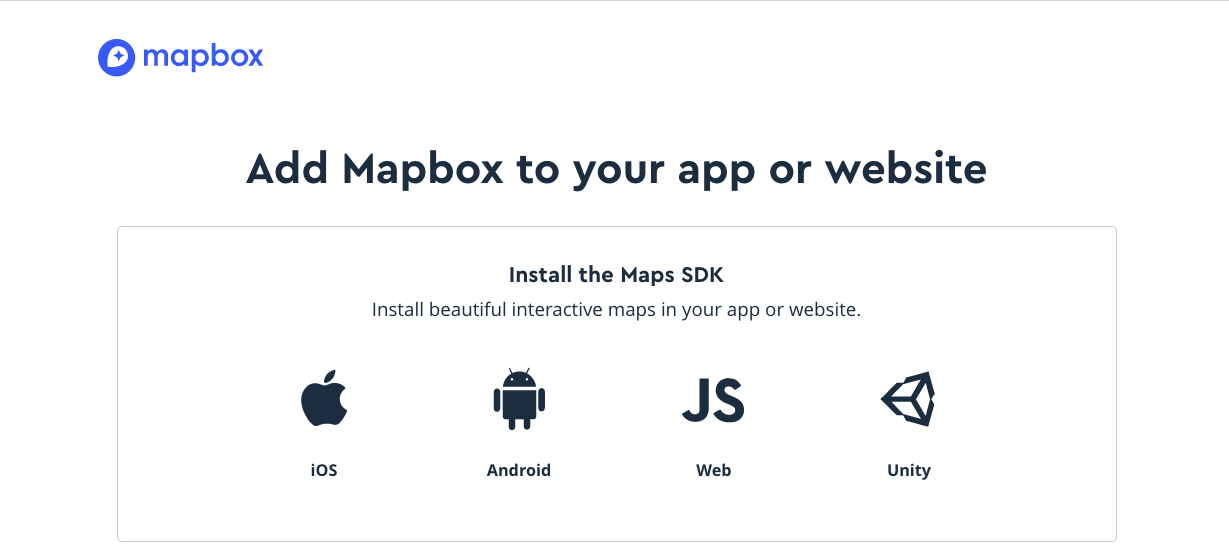
Click the "JS Web" option.
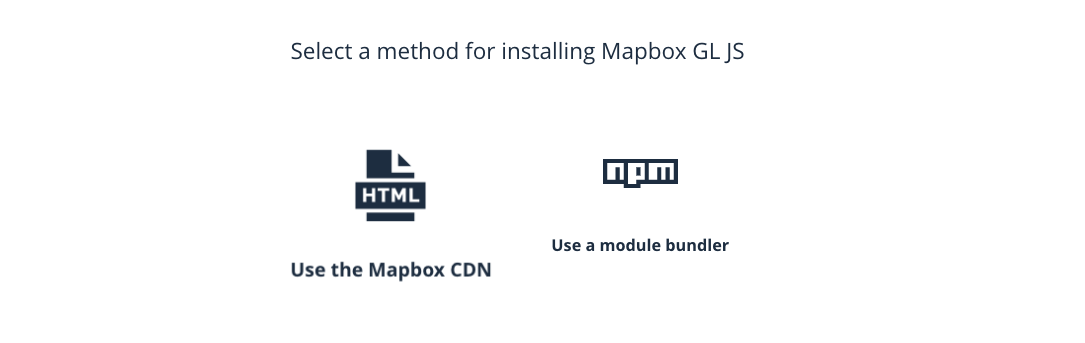
Choose "Use the Mapbox CDN" for the installation method. The next two screens show some code that you should add to your djmaps/maps/templates/default.html template file. The code will look like the following but you will need to replace the mapboxgl.accessToken line with your own access token.
<!DOCTYPE html> <html> <head> <title>Interactive maps for Django web apps</title> <script src='https://api.mapbox.com/mapbox-gl-js/v0.44.2/mapbox-gl.js' ></script> <link href='https://api.mapbox.com/mapbox-gl-js/v0.44.2/mapbox-gl.css' rel='stylesheet' /> </head> <body> <h1>Map time!</h1> <div id='map' width="100%" style='height:400px' ></div> <script> mapboxgl.accessToken = {{ mapbox_access_token }}; var map = new mapboxgl.Map({ container: 'map', style: 'mapbox://styles/mapbox/streets-v10' }); </script> </body> </html> Re-open djmaps/maps/views.py to update the parameters passed into the Django template.
from django.shortcuts import render def default_map(request): # TODO: move this token to Django settings from an environment variable # found in the Mapbox account settings and getting started instructions # see https://www.mapbox.com/account/ under the "Access tokens" section mapbox_access_token = 'pk.my_mapbox_access_token' return render(request, 'default.html', { 'mapbox_access_token': mapbox_access_token }) The Mapbox access token should really be stored in the Django settings file, so we left a "TODO" note to handle that as a future step.
Now we can try our webpage again. Refresh localhost:8000 in your web browser.
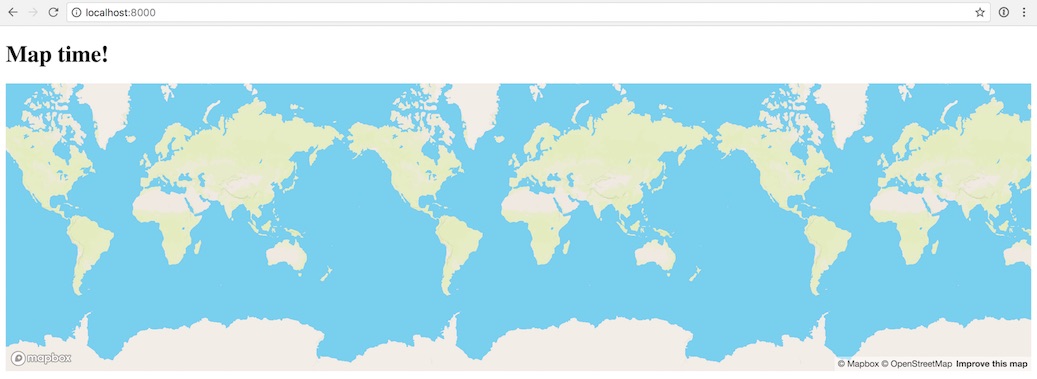
Sweet, we've got a live, interactive map! It's kind of weird thought how it is zoomed out to view the entire world. Time to customize the map using a few JavaScript parameters.
Customizing the Map
We can modify the map by changing parameters for the style, zoom level, location and many other attributes.
We'll start by changing the location that the initial map centers in on as well as the zoom level.
Re-open djmaps/maps/templates/default.html and modify the first highlighted lines so it ends with a commas and add the two new highlighted lines shown below.
<!DOCTYPE html> <html> <head> <title>Interactive maps for Django web apps</title> <script src='https://api.mapbox.com/mapbox-gl-js/v0.44.2/mapbox-gl.js' ></script> <link href='https://api.mapbox.com/mapbox-gl-js/v0.44.2/mapbox-gl.css' rel='stylesheet' /> </head> <body> <h1>Map time!</h1> <div id='map' width="100%" style='height:400px' ></div> <script> mapboxgl.accessToken = {{ mapbox_access_token }}; var map = new mapboxgl.Map({ container: 'map', style: 'mapbox://styles/mapbox/streets-v10', center: [-77.03, 38.91], zoom: 9 }); </script> </body> </html> The first number, -77.03, for the center array is the longitude and the second number, 38.91, is the latitude. Zoom level 9 is much closer to the city than the default which was the entire world at level 0. All of the customization values are listed in the Mapbox GL JS API documentation.
Now refresh the page at localhost:8000 to reload our map.
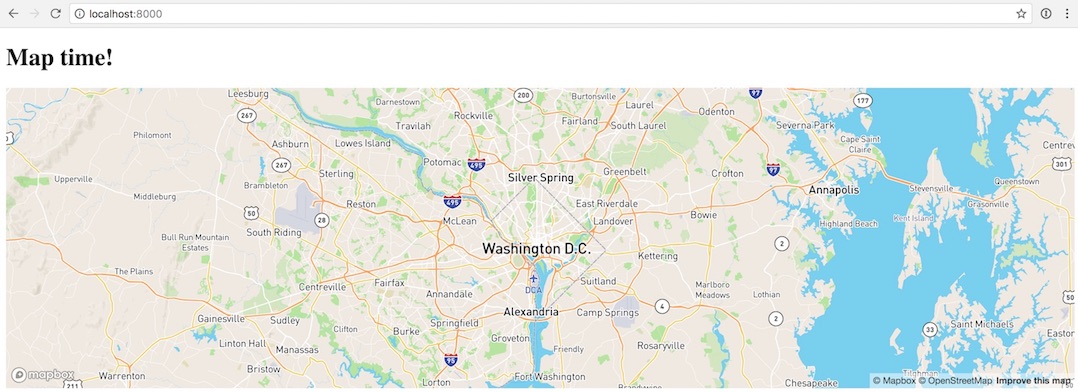
Awesome, now we are zoomed in on Washington, D.C. and can still move around to see more of the map. Let's make a couple other changes to our map before wrapping up.
Again back in djmaps/maps/templates/default.html change the highlighted line for the style key to the mapbox://styles/mapbox/satellite-streets-v10 value. That will change the look from an abstract map style to satellite image data. Update zoom: 9 so that it has a comma at the end of the line and add bearing: 180 as the last key-value pair in the configuration.
<!DOCTYPE html> <html> <head> <title>Interactive maps for Django web apps</title> <script src='https://api.mapbox.com/mapbox-gl-js/v0.44.2/mapbox-gl.js' ></script> <link href='https://api.mapbox.com/mapbox-gl-js/v0.44.2/mapbox-gl.css' rel='stylesheet' /> </head> <body> <h1>Map time!</h1> <div id='map' width="100%" style='height:400px' ></div> <script> mapboxgl.accessToken = {{ mapbox_access_token }}; var map = new mapboxgl.Map({ container: 'map', style: 'mapbox://styles/mapbox/satellite-streets-v10', center: [-77.03, 38.91], zoom: 9, bearing: 180 }); </script> </body> </html> Save the template and refresh localhost:8000.
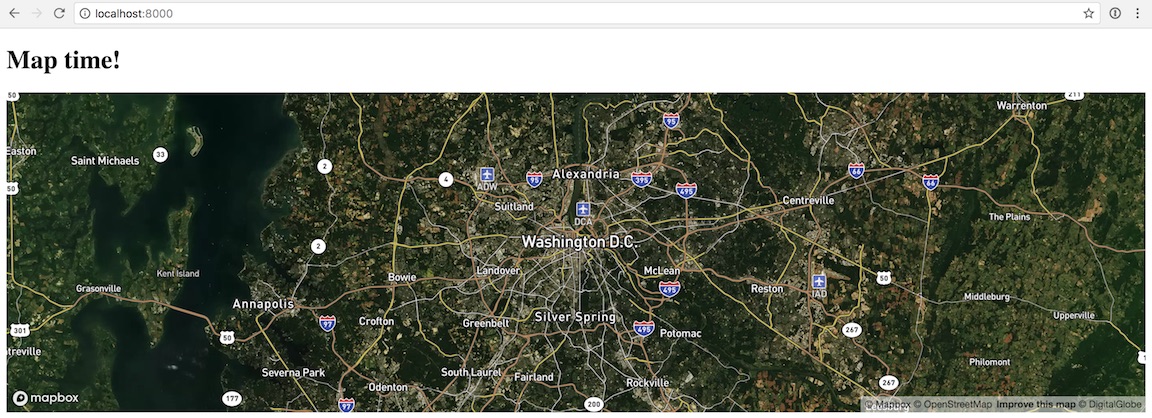
The map now provides a satellite view with streets overlay but it is also... "upside down"! At least the map is upside down compared to how most maps are drawn, due to the bearing: 180 value, which modified this map's rotation.
Not bad for a few lines of JavaScript in our Django application. Remember to check the Mapbox GL JS API documentation for the exhaustive list of parameters that you can adjust.
What's Next?
We just learned how to add interactive JavaScript-based maps to our Django web applications, as well as modify the look and feel of the maps. Next try out some of the other APIs Mapbox provides including:
- directions
- map matching
- geocoding
Questions? Let me know via a GitHub issue ticket on the Full Stack Python repository, on Twitter @fullstackpython or @mattmakai.
Do you see a typo, syntax issue or wording that's confusing in this blog post? Fork this page's source on GitHub and submit a pull request with a fix or file an issue ticket on GitHub.
Source: https://www.fullstackpython.com/blog/maps-django-web-applications-projects-mapbox.html
0 Response to "Google Maps Not Rendering Using Django Easy Maps"
Post a Comment